General Introduction
In March, I wrote about managing Chrome extensions in Intune. I wanted to touch briefly on Edge, focusing on silently installing uBlock Origin on clients.
uBlock Origin is one of the best “ad content blockers” we have and the one I use the most. It’s also one of the important things that should be deployed when you manage an environment. Today, we’ll see how to install it silently on Edge.
If you already have a policy with your Edge settings, consider adding the setting below to the existing ones.
How to
- Open the Intune portal, then navigate to Windows, then Configuration profiles, or click on the link below:
Windows – Microsoft Intune admin center - Click on Create, then New Policy.
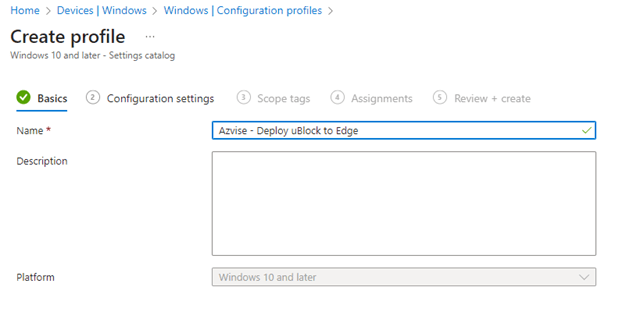
- Under Platform, select Windows 10. Under profile type, select Settings catalog. This can also be done via Administrative templates if you prefer. The logic below remains the same.
- Name the policy and create a description.
- Click on Add settings, then search for Control which extensions are installed silently.
- If you apply policies to computers, select the one I used. Otherwise, if you usually scope to users, select the second one.

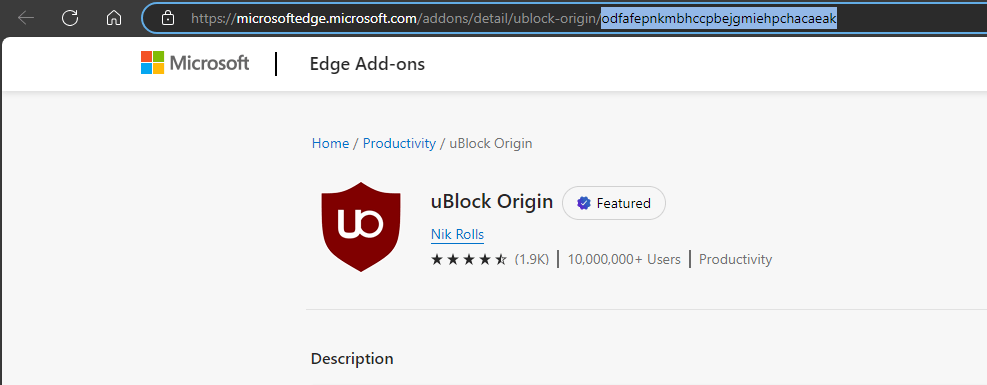
- Now, we have to find the Extension ID. Open the Edge Add-ons store and search for uBlock Origin, or open the link below:
uBlock Origin – Microsoft Edge Addons - The ID will be the last part of the URL that we found. In our case odfafepnkmbhccpbejgmiehpchacaeak
- Add it to the Extension ID list

- Now click Next, then assign Scope tags if you are using them, then click Next.
- Assign the policy to the computers or users of your organization. What you choose will be based on whether you decided for Control which extensions are installed silently (computers), or Control which extensions are installed silently (User) (users). As always, I’d strongly recommend testing changes before deploying policies to the organization.
- Once you are done, click Next, then Create.
- If the users use multiple profiles, the extension will be active for all of them.

- The users will not be able to remove the extension.