Since Azure introduced the option to download the OS disk of a VM directly, you don’t need anymore to traffic around to download the unmanaged disk (or go with the snapshot route).
Here are some easy steps to directly download the disk of your Windows / Linux VM.
Please note that a Sysprep is advised if you need to use the disk as a template to create new VMs.
- Go to the VM, and stop it.

- Click on “Disks” then on he OS Disk.
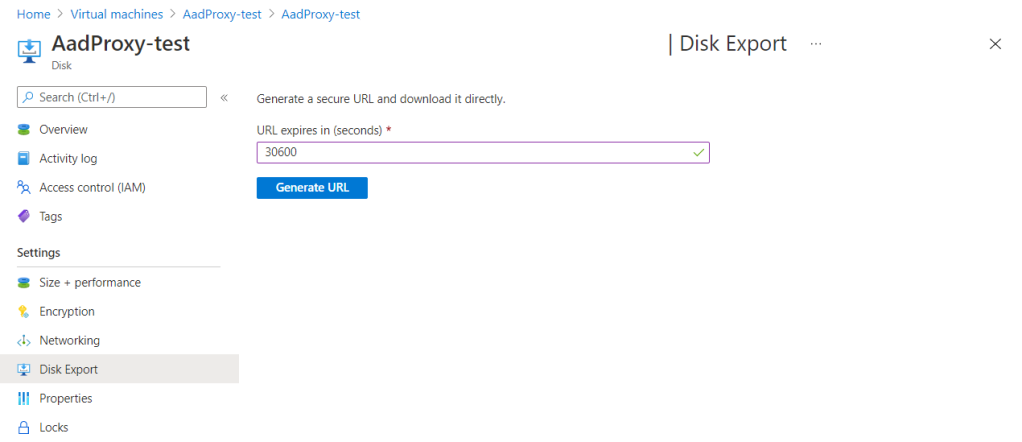
- Click on “Disk Export“, then in the field, enter a higher number (es. 30600) so that you have plenty of time to download the disk. Once done, click “Generate URL“.
- Click on “Download the VHD file“
