Before enabling file monitoring in Defender for Cloud Apps, be sure to have the appropriate licensing assigned. To follow these steps, you’ll need the following:
An Information Protection licence
A full Defender for Cloud Apps licence. A Microsoft Defender for Cloud Apps Discovery license is not enough.
Please note that you’ll have to create a file policy as soon as you enable the feature. If you don’t create a file policy in the first seven days, the feature will be disabled.
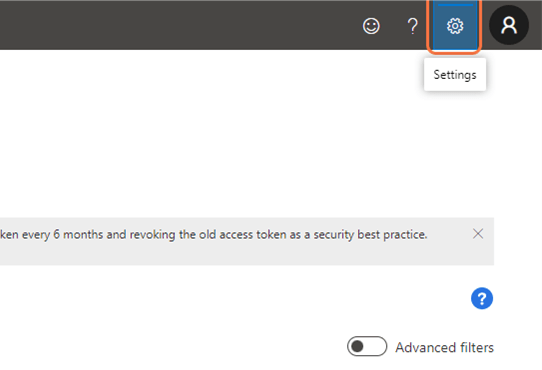
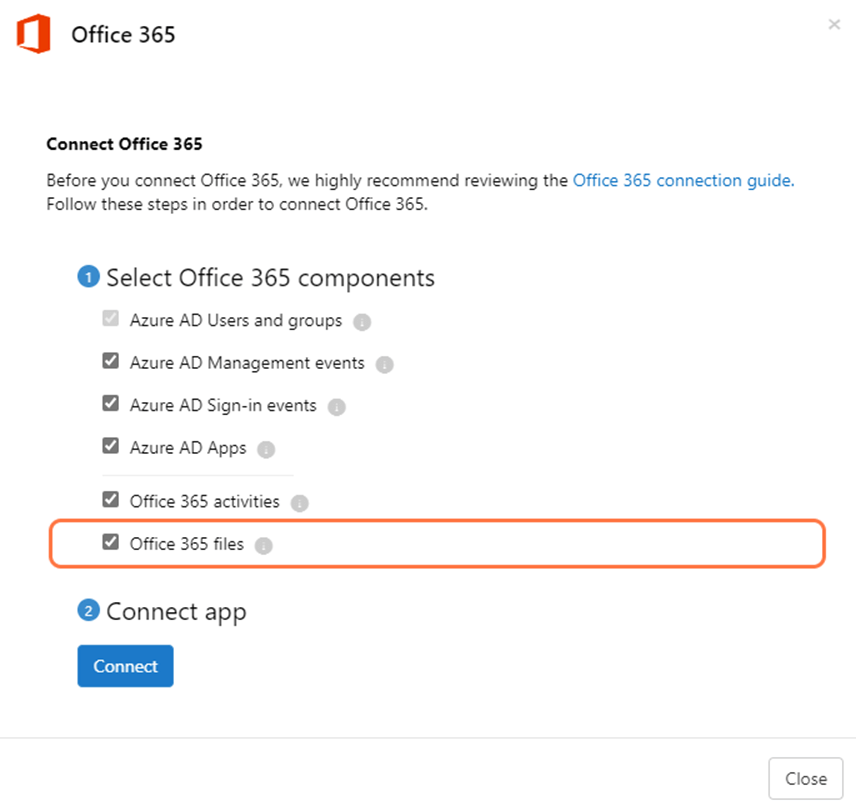
First, log into the Defender for Cloud Apps portal:
There are a couple of ways to enable an automatic classification of files in SharePoint. The first one, more complete from a customization point of view, is to use a File Policy in Defender for Cloud Apps. The second one (the newer and less recommended one, to be fully released Q3/Q4 2022) is to use a Default Sensitivity Label in SharePoint Online.
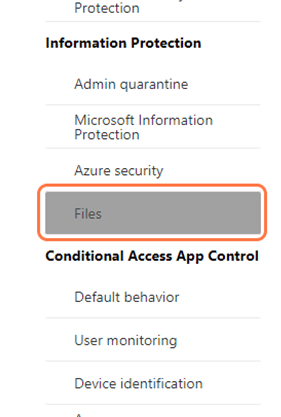
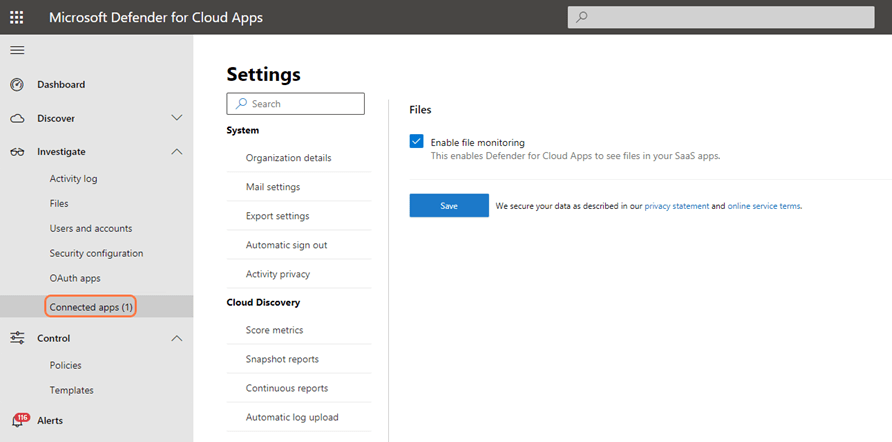
If you are looking at how to enable file monitoring and file policies, follow this guide:
Create a broad filter. I’ve set it as “App equals SharePoint Online” for this example.
Under “Apply to”, specify the root folder where the policy should start to apply.
Apply the governance action “Apply sensitivity label”, and select your label. Check the box below if you wish MDCA to override all user-defined labels. This will override older labels set on docs in the site and new ones defined at document creation.
Save the policy
Suppose you would like a policy to automatically apply labels to all the files and subfolders recursively from a root folder onward in SharePoint or OneDrive. In that case, you might think you can use the “Files matching all of the following” filter. Unfortunately, this won’t work, as it will not match recursively on the files contained in the subfolders.
Default Sensitivity labels in Sharepoint Online
Once you enable SharePoint to process labels, you can configure a default label for document libraries. This will ensure that any new or newly modified files get the specified label.
The feature will not apply to documents not opened since setting the default label or if the file has a higher priority label applied. Therefore, I would recommend, for the moment, using PowerShell or MDCA (as shown above) before setting the default label.
The feature will also not work if you have “User access to content expires” set anything other than Never or if you use Double Key Encryption.
I’ve recently created a quick script to enable this feature. Check it out here:
If you are encountering issues with Azure File Sync, or you just want to force the process so that you can free some space now, follow the commands shown below:
#Import the commands
Import-Module "C:\Program Files\Azure\StorageSyncAgent\StorageSync.Management.ServerCmdlets.dll"

#Force the synchronization of the folder you have specified in the sync group
Invoke-StorageSyncCloudTiering -Path <sync_group_path>
If you want to get some logs out of the operation for troubleshooting, send these commands in a separate PowerShell window before launching the script above:
cd C:\
New-Item -ItemType directory -Path C:\AZfslogs
cd "C:\Program Files\Azure\StorageSyncAgent"
Import-Module .\AFSDiag.ps1
Debug-AFS -OutputDirectory C:\AZfslogs -KernelModeTraceLevel verbose -UserModeTraceLevel verbose
You can terminate the command once the sync is concluded and get the logs in the C:\AZfslogs folder.
If the error is, on the other hand, NTLMv2 is not enabled, please note that Azure files only supports NTLMv2 (not v1). Set the value of the following key to 3 on your local PC/Server: