Before enabling file monitoring in Defender for Cloud Apps, be sure to have the appropriate licensing assigned. To follow these steps, you’ll need the following:
- An Information Protection licence
- A full Defender for Cloud Apps licence. A Microsoft Defender for Cloud Apps Discovery license is not enough.
Please note that you’ll have to create a file policy as soon as you enable the feature. If you don’t create a file policy in the first seven days, the feature will be disabled.
First, log into the Defender for Cloud Apps portal:
Defender for Cloud Apps Portal
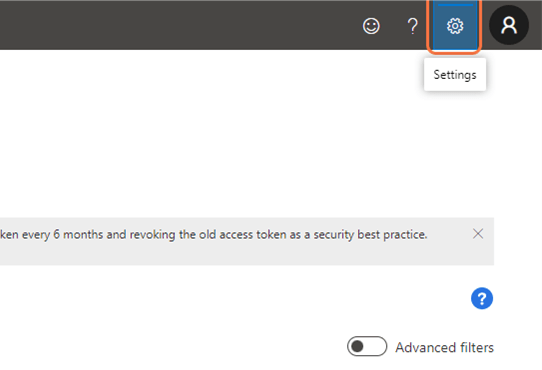
Then, click on Settings in the top right corner
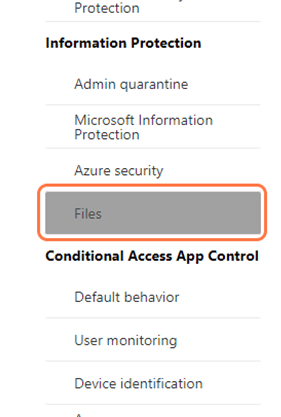
Go into Files under the Information Protection tab. If you don’t see this section, please check the license you have applied to your user.
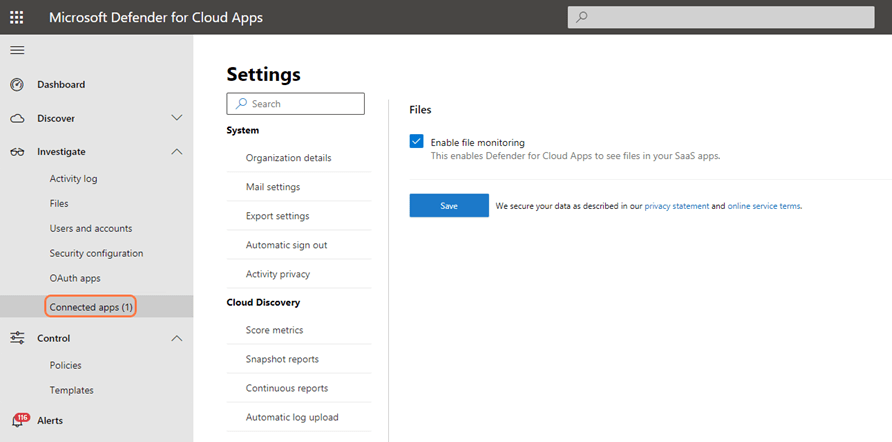
Enable file monitoring, then save. Once done, click on “Connected Apps”
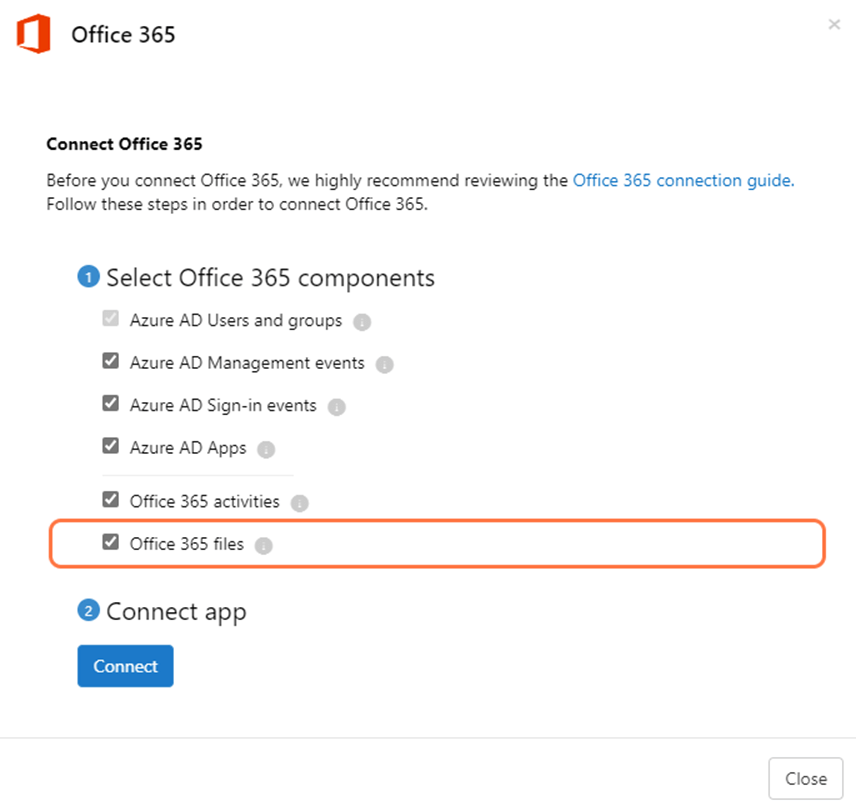
Click on the three dots at the right of Office 365. If the application is not there, add it.

Click edit settings, then check “Office 365 files”. Finally, click “Connect”, then close the panel to finish up.

One thought on “Enable file monitoring for Office 365 in Defender for Cloud Apps – DCA”