General Introduction
If you want to onboard on-prem servers directly to Defender for Servers, you can now do so with the Defender for Endpoint agent. This has the advantage of being able to license and activate Microsoft Defender for Endpoint on servers without having to use Azure Arc. While full of useful functionalities, Arc, among others, gives you remote management of your servers and must be therefore treated carefully.
If you enable direct onboarding (a tenant-level feature) and onboard your servers to MDE, they’ll show up in Defender for Cloud and be enabled to Defender for Servers. Still, you’ll have to onboard your servers with Arc to get the most out of Defender for Servers, such as the features in Plan 2.
Defender for Servers Plan 1 include the following functionalities:
- The Defender for Endpoint Plan 2 features
- Foundational cloud security posture management (CSPM)

“Direct onboarding is a seamless integration between Defender for Endpoint and Defender for Cloud that doesn’t require extra software deployment on your servers. Once enabled, it also shows your non-Azure server devices onboarded to Defender for Endpoint in Defender for Cloud
https://learn.microsoft.com/en-us/azure/defender-for-cloud/onboard-machines-with-defender-for-endpoint
Must Know
- The feature will be enabled tenant level.
- Both new and existing servers will be onboarded to Defender for Servers.
- It’s fully supported by Defender for Servers Plan 1. Plan 2 features are not supported.
How to enable Direct Onboarding
- Head into portal.azure.com
- Search for Defender for Cloud and open it.
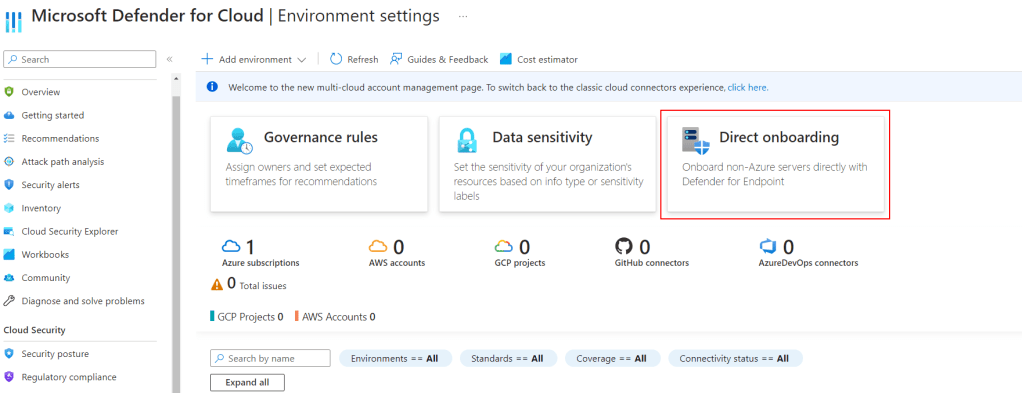
- Click on Environment Settings
- Select Direct Onboarding in the middle of the screen.
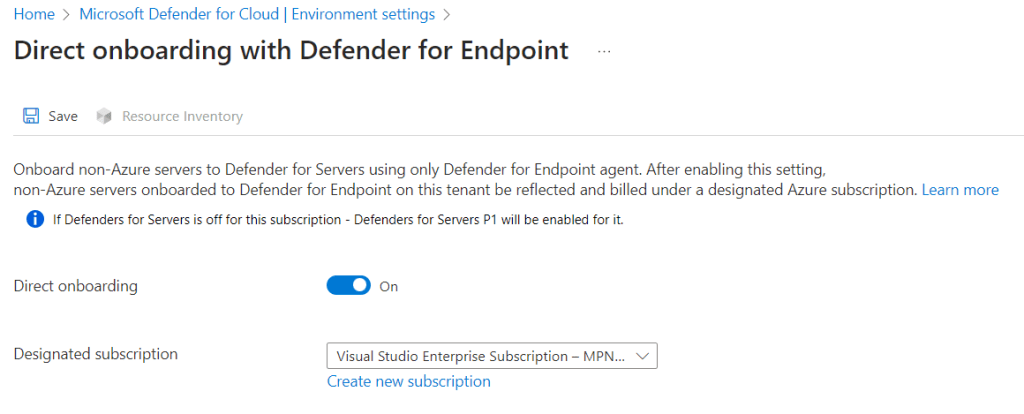
- Set Direct onboarding to On and select the billing subscription. In this subscription you’ll get a “Servers – Defender for Endpoint” object which references the on-prem server enabled to Defender for Servers.
- Save
- Check if Direct onboarding enabled Defender for Servers Plan 1 on that subscription.
- To check, go into Environment settings, select the subscription you have used for enabling Direct onboarding
- From Defender plans, look for Servers, then make sure it’s enabled and Plan 1 is selected

- Wait for the servers to show up.
How to onboard servers
- Head into security.microsoft.com
- Go into Settings, Endpoints, then head to Onboarding
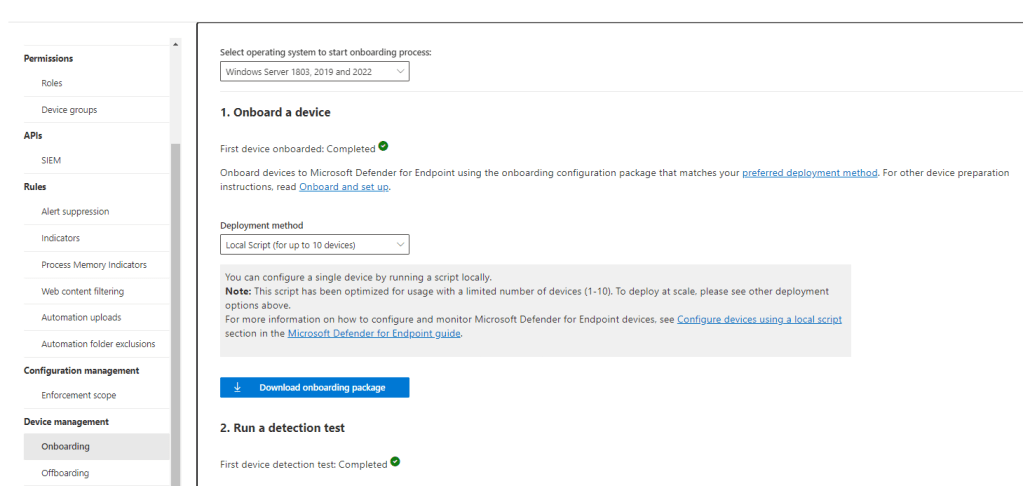
- Select your Windows Server version, then download the onboarding package.
- Either install it directly on the servers or configure the GPO: https://learn.microsoft.com/en-us/microsoft-365/security/defender-endpoint/configure-endpoints-gp?view=o365-worldwide
Notes
Here are the Microsoft Docs:
To onboard using Azure Arc, follow this documentation:
https://learn.microsoft.com/en-us/azure/defender-for-cloud/quickstart-onboard-machines